How to make your own garden – without the actual digging
03/28/2020 / By Zoey Sky
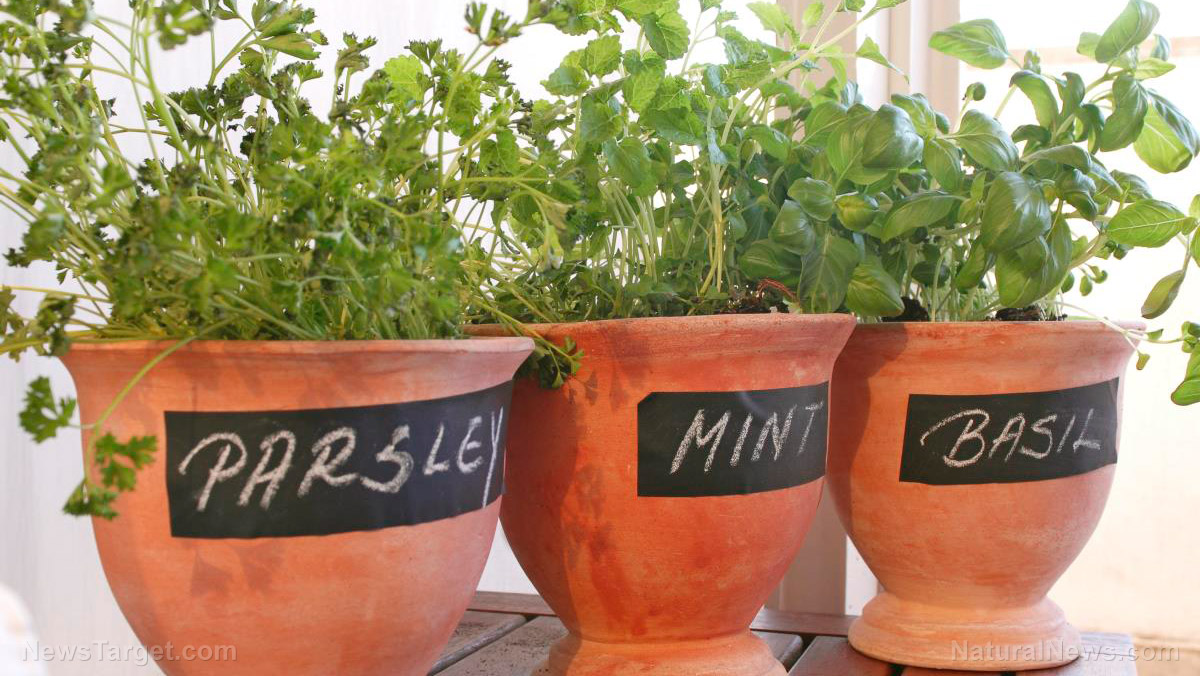
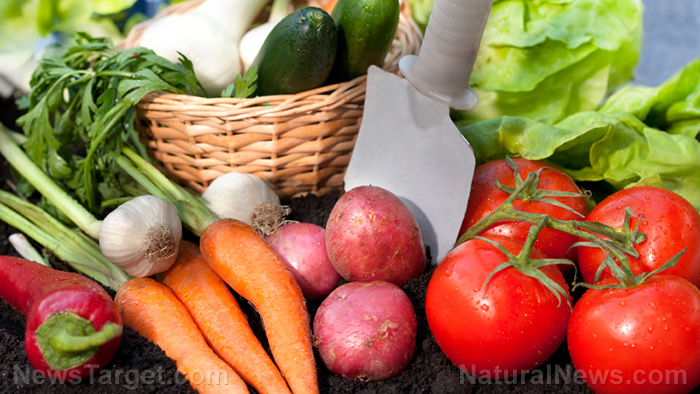
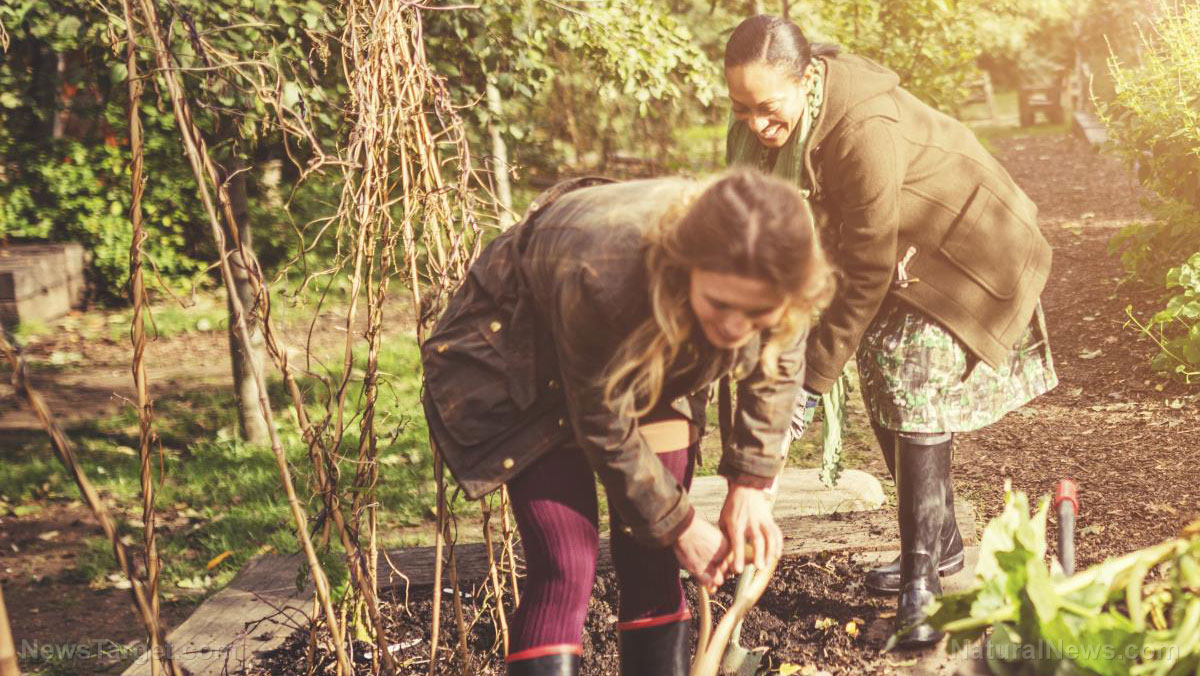
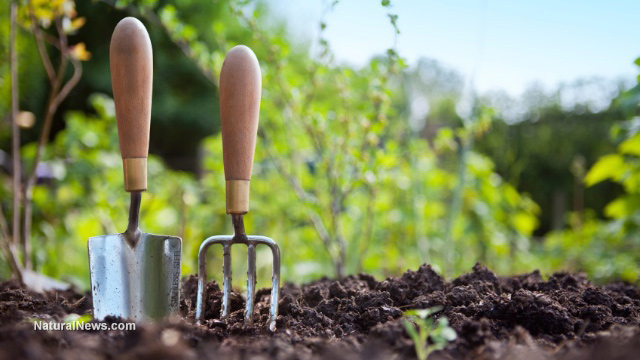
Home gardening is a rewarding practice. It can be done even if your home has a tiny backyard. Using no-dig gardening methods, you can easily grow herbs and vegetables with little fuss. (h/t to SHTFDad.com)
The benefits of a no-dig garden
No-dig gardens are a great alternative for busy preppers who want to grow their own produce in areas with limited space, or those who want to start gardening without straining themselves due to age or underlying health conditions.
No-dig gardening saves time and requires fewer resources. Like with no-till gardening, you don’t need to break the ground. The time you save with no-dig gardening can be spent on other prepping tasks.
No-dig gardening also reduces your weed problems. This gardening method suits ornamental flower beds or no-dig vegetable garden beds. Finally, starting a no-dig garden helps save grocery money and allows you to be more self-sufficient.
Tools for building a no-dig garden
While you’re setting up your no-dig garden, you may need some larger equipment to clear the larger bushes, or otherwise prepare your space, before you set up a no-dig garden fence.
Below are the tools you need to start your garden:
- Compost
- Fertilizer
- Hand grass slasher or lawnmower
- Hoe, machete or shovel
- Lucerne hay (alfalfa)
- Mulch
- Newspaper
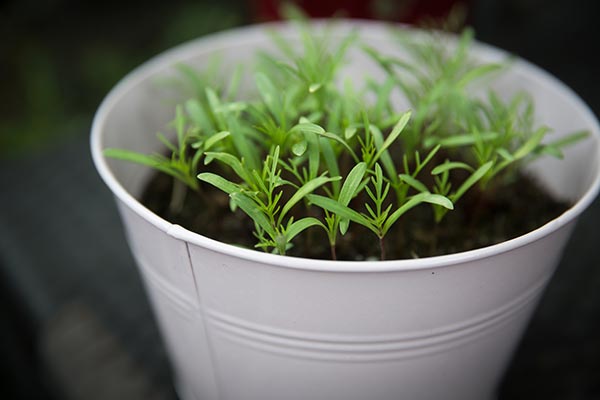
- Seedlings
- Straw
- Watering can
- Wooden planks, bricks or rocks
Choose a location
Your no-dig garden should be set up on a leveled site that’s at least 4 x 5 feet. Increase or decrease the size of the garden bed as needed.
The location must receive at least four to five hours of sunlight every day so your plants can get enough sun. After finalizing the location, start leveling the ground.
Contain the garden
A no-dig garden fence is optional, but if your garden requires a traditional or living border, you can use bricks, rocks, wooden planks or bushes. Alternatively, you can use some of your plants as a natural border.
Add layers to your no-dig garden
Place old newspapers or plain, brown cardboard in the planned garden area. This helps block out any light that may reach the weeds beneath the ground. Wet the newspapers first before placing them on the ground, and make sure they overlap one another.
If you’re using compost, layer it on top of the newspaper. You can also collect leaves in the fall or use old hay. In time, the compost, leaves and hay will break down and nourish the soil underneath. This helps regulate moisture and weeds.
Add additional layers of grass, hay clippings or straw until the newspaper is covered completely. Lucerne hay is preferable, and you can get it from horse stables if there is one near your area. If you don’t have hay, use grass clippings and straw instead.
Watering and applying fertilizer
Water all the layers, then water the areas around your no-dig garden edging before you apply fertilizer.
Your garden should be wet enough, but not soaked through. Use organic fertilizer or chicken, cow or well-rotted horse manure.
Layer as much mulch as needed. Water the area thoroughly so it can retain water. Check the area regularly for runoff and dry soil.
Planting your no-dig garden
Consider what plants you would like, as well as your zone and weather patterns when planning what to plant.
Choosing your plants
When planting in an area with cool weather, the prevailing climate and time of year will determine the success of your no-dig garden.
These plants grow well in cool weather:
- Beets
- Broccoli
- Cauliflower
- Kale
- Onions
- Peas
- Spinach
- Swiss chard
- Turnips
Broccoli and Brussels sprouts withstand cooler temperatures because they’re resistant to light frost.
In areas with warmer weather, try plants that grow in intermediate temperatures.
If the climate in your area ranges between 60 to 80 F, you can grow cabbage, carrots, lettuce or radishes. Celery, leeks and parsnips can also grow in intermediate temperatures.
For warm to hot climates, the best no-till crops are beans, corn, eggplants, potatoes and tomatoes. Remember that these plants don’t do well when hit with frost. (Related: Gardening 101: Ten crops you can grow in buckets throughout the year.)
Planting
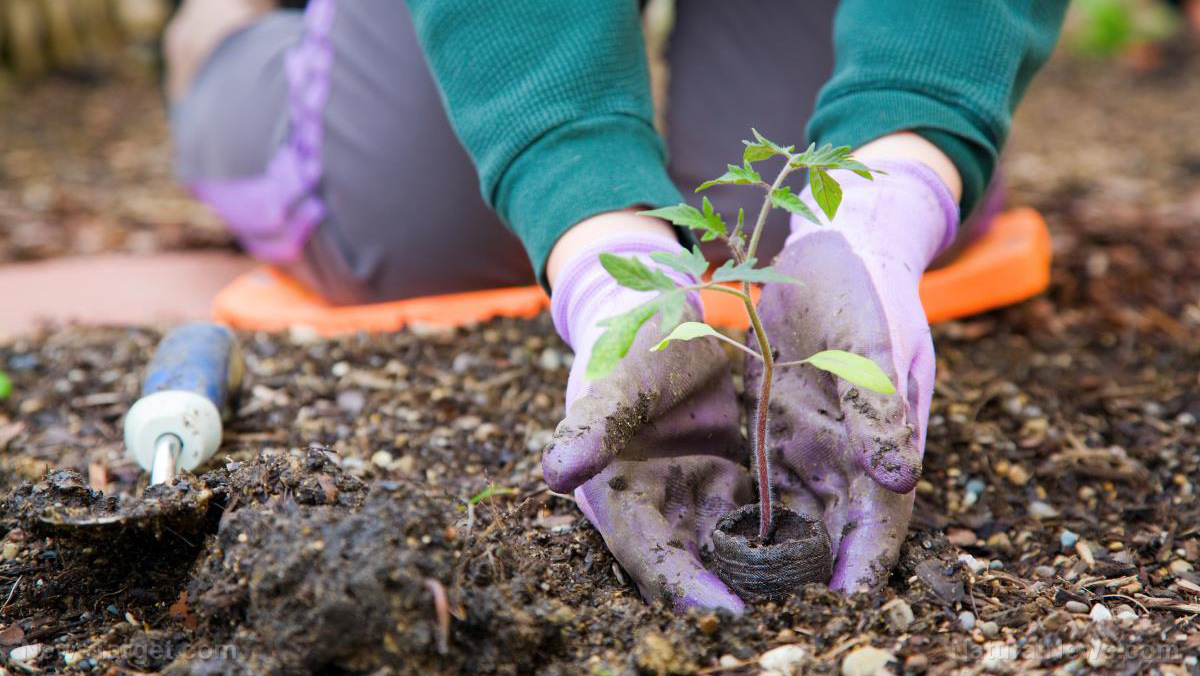
Use a shovel or other wedged tools to make small, one-inch deep holes. The holes must be three inches apart. Fill each hole with compost.
Lastly, make additional half-inch holes in the compost for your plants.
Maintaining your no-dig garden
Check how dry or moist the soil is. If the soil feels dry between your fingers, water it evenly. Water your garden regularly to keep the soil moist (not wet). Check the level of water needed for each plant to avoid over- or under-watering it.
Keep your no-dig garden healthy by adding compost, such as animal droppings, eggshells, leaves, yard clippings and table scraps. Do this twice a year, usually at the beginning of the fall and spring.
Start your sustainable, no-dig garden today and save some grocery money while gaining peace of mind by growing your own food at home.
Sources include:
Tagged Under: emergency food, food independence, gardening, green living, home gardening, homesteading, indoor gardening, no-dig gardening, organics, preparedness, prepping, self-reliance, survival, survival skills, sustainable living, vegetable garden
RECENT NEWS & ARTICLES
COPYRIGHT © 2017 FOOD FREEDOM NEWS


