Walipini greenhouse: What it is, why you need one, and how to build it
02/07/2018 / By Zoey Sky
A Walipini greenhouse is a cellar-greenhouse hybrid that combines the constant temperature of the former and the ability of the latter to “extend the growing season.” (h/t to Survivopedia.com)
With a Walipini greenhouse, anyone can cultivate plants year-round. Also called a geothermal- or pit greenhouse, the Walipini is common in South America. “Walipini” means “place of warmth” in Aymara Indian, and it’s a suitable name for the structure.
When you build a Walipini, it must be below the frost line at least three to five feet below the surface where the Earth maintains a “fairly constant temperature.” This makes conditions for perfect plant-growing temperatures, especially when covering is added to one side of the structure so sunlight can shine through and warm it up a little
A Walipini lets you harness the existing geothermal heat by digging six to eight feet underground and “capturing and storing solar radiation” to create an almost perfect growing climate which is also resistant to surface-level temperature changes. (Related: Greenhouse Gardening on a Budget.)
Why is a Walipini better than the common greenhouse?
A Walipini is ideal for preppers because if you plan the structure carefully, it can be camouflaged to make it easier to hide your food. More advanced Walipinis can even be built to be self-sustaining, and some can contain animals, aquaculture, or hydroponic plants.
In dry climates, a Walipini can retain moisture from the ground. Help the structure with this process by utilizing water along the wall to “pull the heat” from the earth. Doing this will make the air warmer and moister. Keep condensation in mind when building the Walipini.
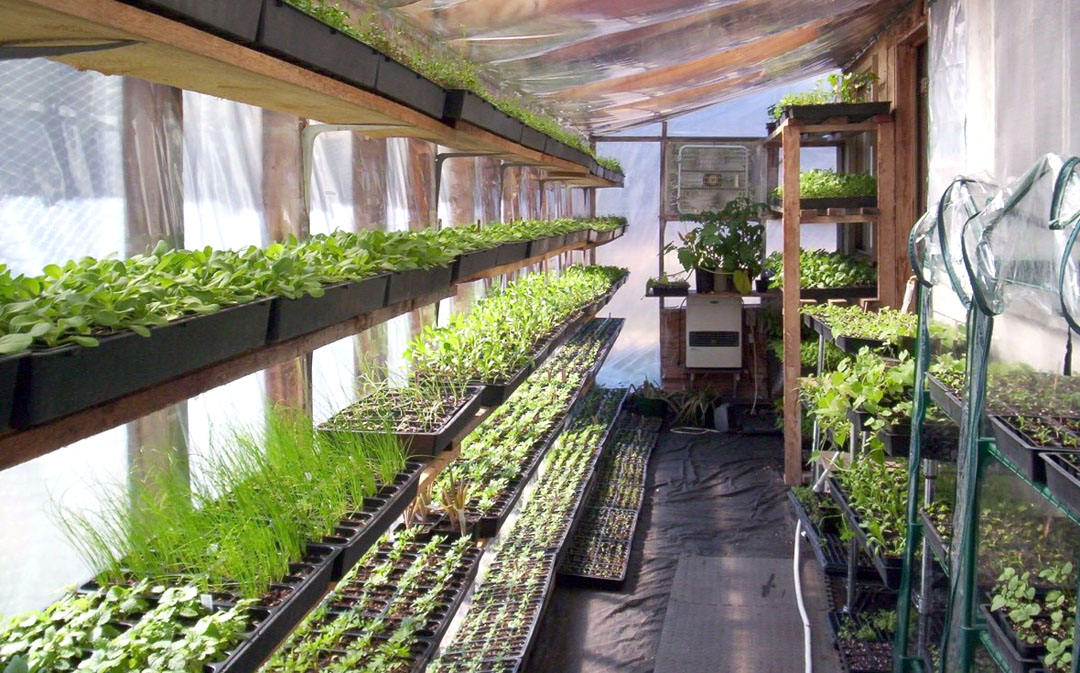
A Walipini only requires minimal upkeep. Built mostly underground, with an angled roof exposed to the elements, Walipinis are easier to maintain than other types of greenhouses. You just need to replace all the plastic after a couple of years.
You can also build a pit greenhouse for less than a thousand dollars. It will be even cheaper if you already have the materials you may need.
Building a Walipini
Before you start gathering materials, decide where you want to build the Walipini. Consider the location of the local water table and how large your structure is going to be before you finalize your decision.
Building a Walipini means digging into the ground, with three sides and the floor underground. The exposed side, which must be covered in plastic or windows, should be built facing the winter sun in the northern hemisphere at a 90-degree angle to it. Imagine digging into a hillside and covering the hole with plastic.
If you don’t live in an area where this is possible, dig a pit with the sun directly overhead. Use the dirt from the pit to build up its rear side.
Remember to dig beyond the frost-line, include good insulation to pull the heat in, and don’t dig below the water line. Ensure that the floor is at least four feet above the water line.
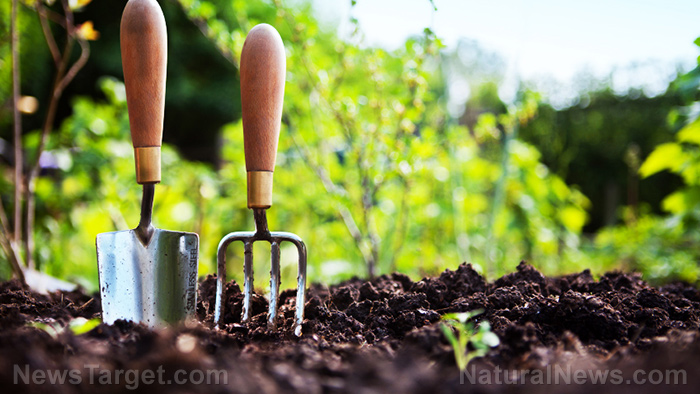
A basic Walipini can be built with some wooden support beams (2x4s or poles), greenhouse plastic or windows, and insulating materials. You can use natural soil for the walls as long as it’s structurally sound to hold up, like clay or mud bricks or stone.
While digging, save the topsoil and use is as the soil in the floor of the Walipini since sub-soil won’t be suitable for growing. Use the remaining dirt that’s removed to build up the back berm of the structure. You can dig a drainage ditch around the Walipini, so the water flows around the greenhouse instead of into it.
Dig down at least six or eight feet (or 10 feet if possible), and maintain your distance from the water line. When building into a hillside, “scoop” a section out of the hill so that the back wall is vertical and the floor is horizontal.
When building a pit, pile the soil that’s removed, so it creates a berm behind and on the north side of the hole.
Keep in mind that when you’re digging, you’ll be insulating the walls and floor. This means adding at least a foot or so back to what you’re digging out.
When you’re done digging, reinforce the north, east, and west walls with an insulator.
You can either plant directly into the floor, or use the Walipini as a standard greenhouse and use containers. When planting straight onto the floor, put a layer of gravel at least six or eight 8 inches deep under the soil. Use either compost or manure under the topsoil to naturally generate heat as it decomposes, which can help warm things up.
Once the walls are built, cover the pit. Consider building a vent into the roof to let some of the heat escape. You can either build a vent or leave the door open or cracked for most of the day if it gets too hot.
You can keep the roof/cover simple, like some clear plastic stapled to a wooden frame with braces every couple of feet.
A Walipini greenhouse is an efficient way of growing plants in winter or in climates that aren’t usually conducive to gardening.
You can learn more about homesteading and home gardening at Homesteading.news.
Sources include:
Tagged Under: Collapse, food production, gardening, geothermal greenhouse, greenhouse, home gardening, Homestead, homesteading, off grid, pit greenhouse, preparedness, prepper, prepping, self-reliance, SHTF, survival, survival skills, Walipini, walipini greenhouse